3D Printing Heritage Group Project
Semester 1
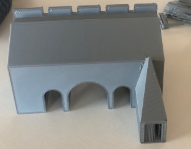
During my first semester of year three I was tasked with working as art of a team to edit, scale and print 3D building models of historic Winchester buildings that could be used to create a miniature model of Winchester town.
The team consisted of myself and Jamie Barrett who is a second year CAD student. I took the role of editing and preparing the 3D models for printing whilst Jamie was given the role of exporting the files from Auto CAD into the Cedi 3D printing software that the 3D printers are able to interpret and begin the printing process.
To begin the project, I first created a Gantt chart to ensure the project could be planned out over the correct period of time. Allowing each progression of the project to move along smoothly and on schedule was imperative to the project being completed as the models would be required for the mini exhibition at the end of semester one. Below is the Gantt chart that I created showing both mine and Jamie’s workloads throughout the project that was aimed to run between the end of September and the end of December.
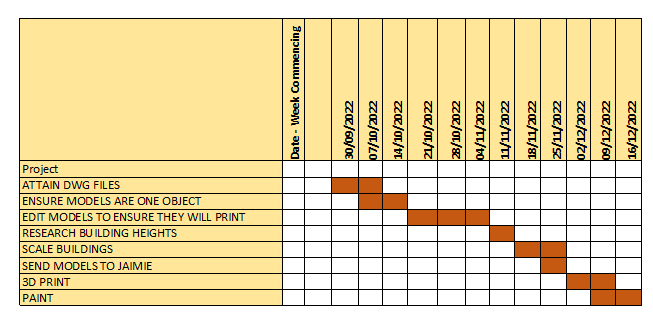
Whilst creating the Gantt chart it was important that all potential time related activities were thought about and considered to try and minimise the potential future disruption to our narrow schedule. To ensure I had considered all aspects of this project whilst completing my Gantt chart I created a mind map to venture though possible avenues of this project to reduce the unforeseen setbacks in our work.

To begin the project, I downloaded the relevant 3D CAD files that held the models that we would be printing. These models were created by previous students of the university and therefor could potentially hold mistakes that would prevent them from being printed correctly on the Cedi 3D machines we were planning to use. I started by opening up each individual model and ensuring that all connections between roofs and walls were correct and coming into contact with each other. This was an important factor in ensuring the buildings printed correctly as if there were a gap between the model’s walls and roof the roof would be loose and free to move around whilst the printing process was being completed. A movement of the model during the printing process would force our team to revert back to the CAD model of the building, edit the structure to ensure the same movement did not repeat itself and then return the new model into the Cedi 3D software to be reprinted. This process would cost us valuable time and was something that we were both sure not to encounter along our workflow process. This can be shown by the increased amount of time allotted for each model being checked in the initial stages of the editing process.

Whilst completing the initial checks of the models I noticed that one of the models was created on top of another. If this had not been noticed in the initial inspection of the models, we would have drastically increased the allotted printing time for the model due to the Cedi printer having to print two models withing the floor plan of one. To solve this problem, I first hid the outside larger model thus revealing the hidden smaller model within the centre of the larger. This then allowed me to delete the unwanted model and have the larger reappear knowing that its internals were clear for the Cedi printer to add its internal bracing for the external walls of the model providing rigidity.

The following step was to ensure all models were scaled correctly. I used online sources such as 3D Google earth to collect information on each individual building’s height.

Once the height data had been collected, I was able to scale the buildings to ensure they were the correct height was to how they appear in the real world. From this I could then scale the buildings down by the same factor to ensure they were small enough to print and also scaled correctly when compared to one another. A large factor for the use of smaller building scales was the estimated print times for each section of a model. Larger models were split into two sections to ensure that the print would not fail after waiting for the model to finish. Splitting the model ensured that damage reduction would be maximised by ensuring the whole model would not be unusable should printing fail late on in the printing process.
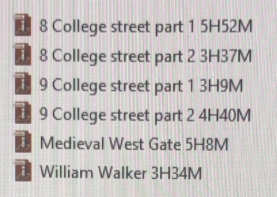
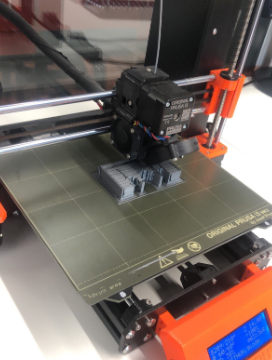
After scaling the buildings to the correct size for the Cedi printer I was able to send the 3D Auto CAD models to Jaimie allow him to be able to import the models into the software called Prusaslicer. This is where the models can be split and sectioned to allow the print times to be reduced. The main split that was completed was on 8 college street. The larger section was expected to take 5 hours 52 minutes to print with the smaller section expected to take 3 hours 37 minutes. This was the largest file we had to print. The print time takes both size of model and detail into account whilst generating expected print times. 9 College Street was also split into two sections, part one was expected to take 3 hours 9 minutes and the second was 4 hours 40 minutes. These two models were the largest we printed. The medieval West gate was estimated to take 5 hours and 8 minutes with the William Walker pub taking 3 hours 34 minutes.
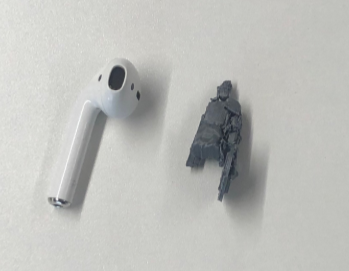
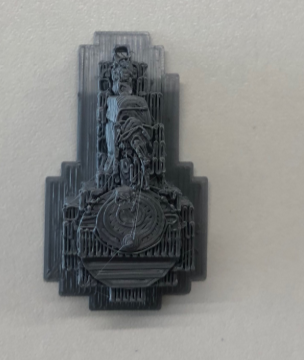
Whilst creating the Gantt chart I allocated two weeks for printing times which upon review was a short time frame as I didn’t consider how many printing errors we would face. Buildings were being printed too small initially due to the software adding a further scaling factor of 25 percent. This was solved however by changing the properties in the Cedi software before printing.

To further this project, I would like to continue printing models and allow time to paint correctly as the buildings would have looked when new. This could be continued in my free time during semester two.
