Fusion 360
This page shows the work I have completed in the Fusion 360 program. This was a new software for me to use within this semester however I enjoyed learning how it worked and demonstrating its skills within my area of learning.
2D Shape to 3D Model
In this project I was given a 2D geometric shape that had to be turned into a 3D model of something that had the same components as the 2D shape. Below is the 2D shape I was given to create a model from.
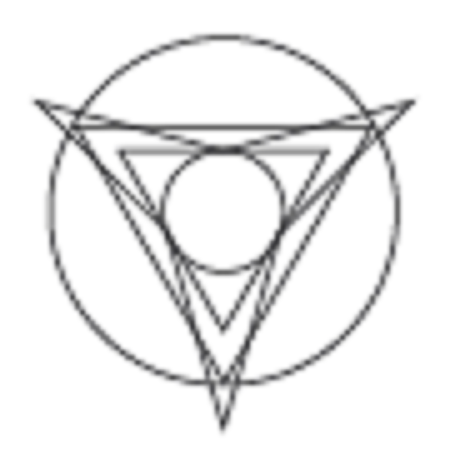
I felt the 2D shapes could be turned into a trophy of some sort as I felt it had the right 2D components. I started by creating a theme board on Pinterest to gain ideas of different trophy stels and looks to see if I could gain inspiration. I also wanted to design a trophy for something im passionate about.

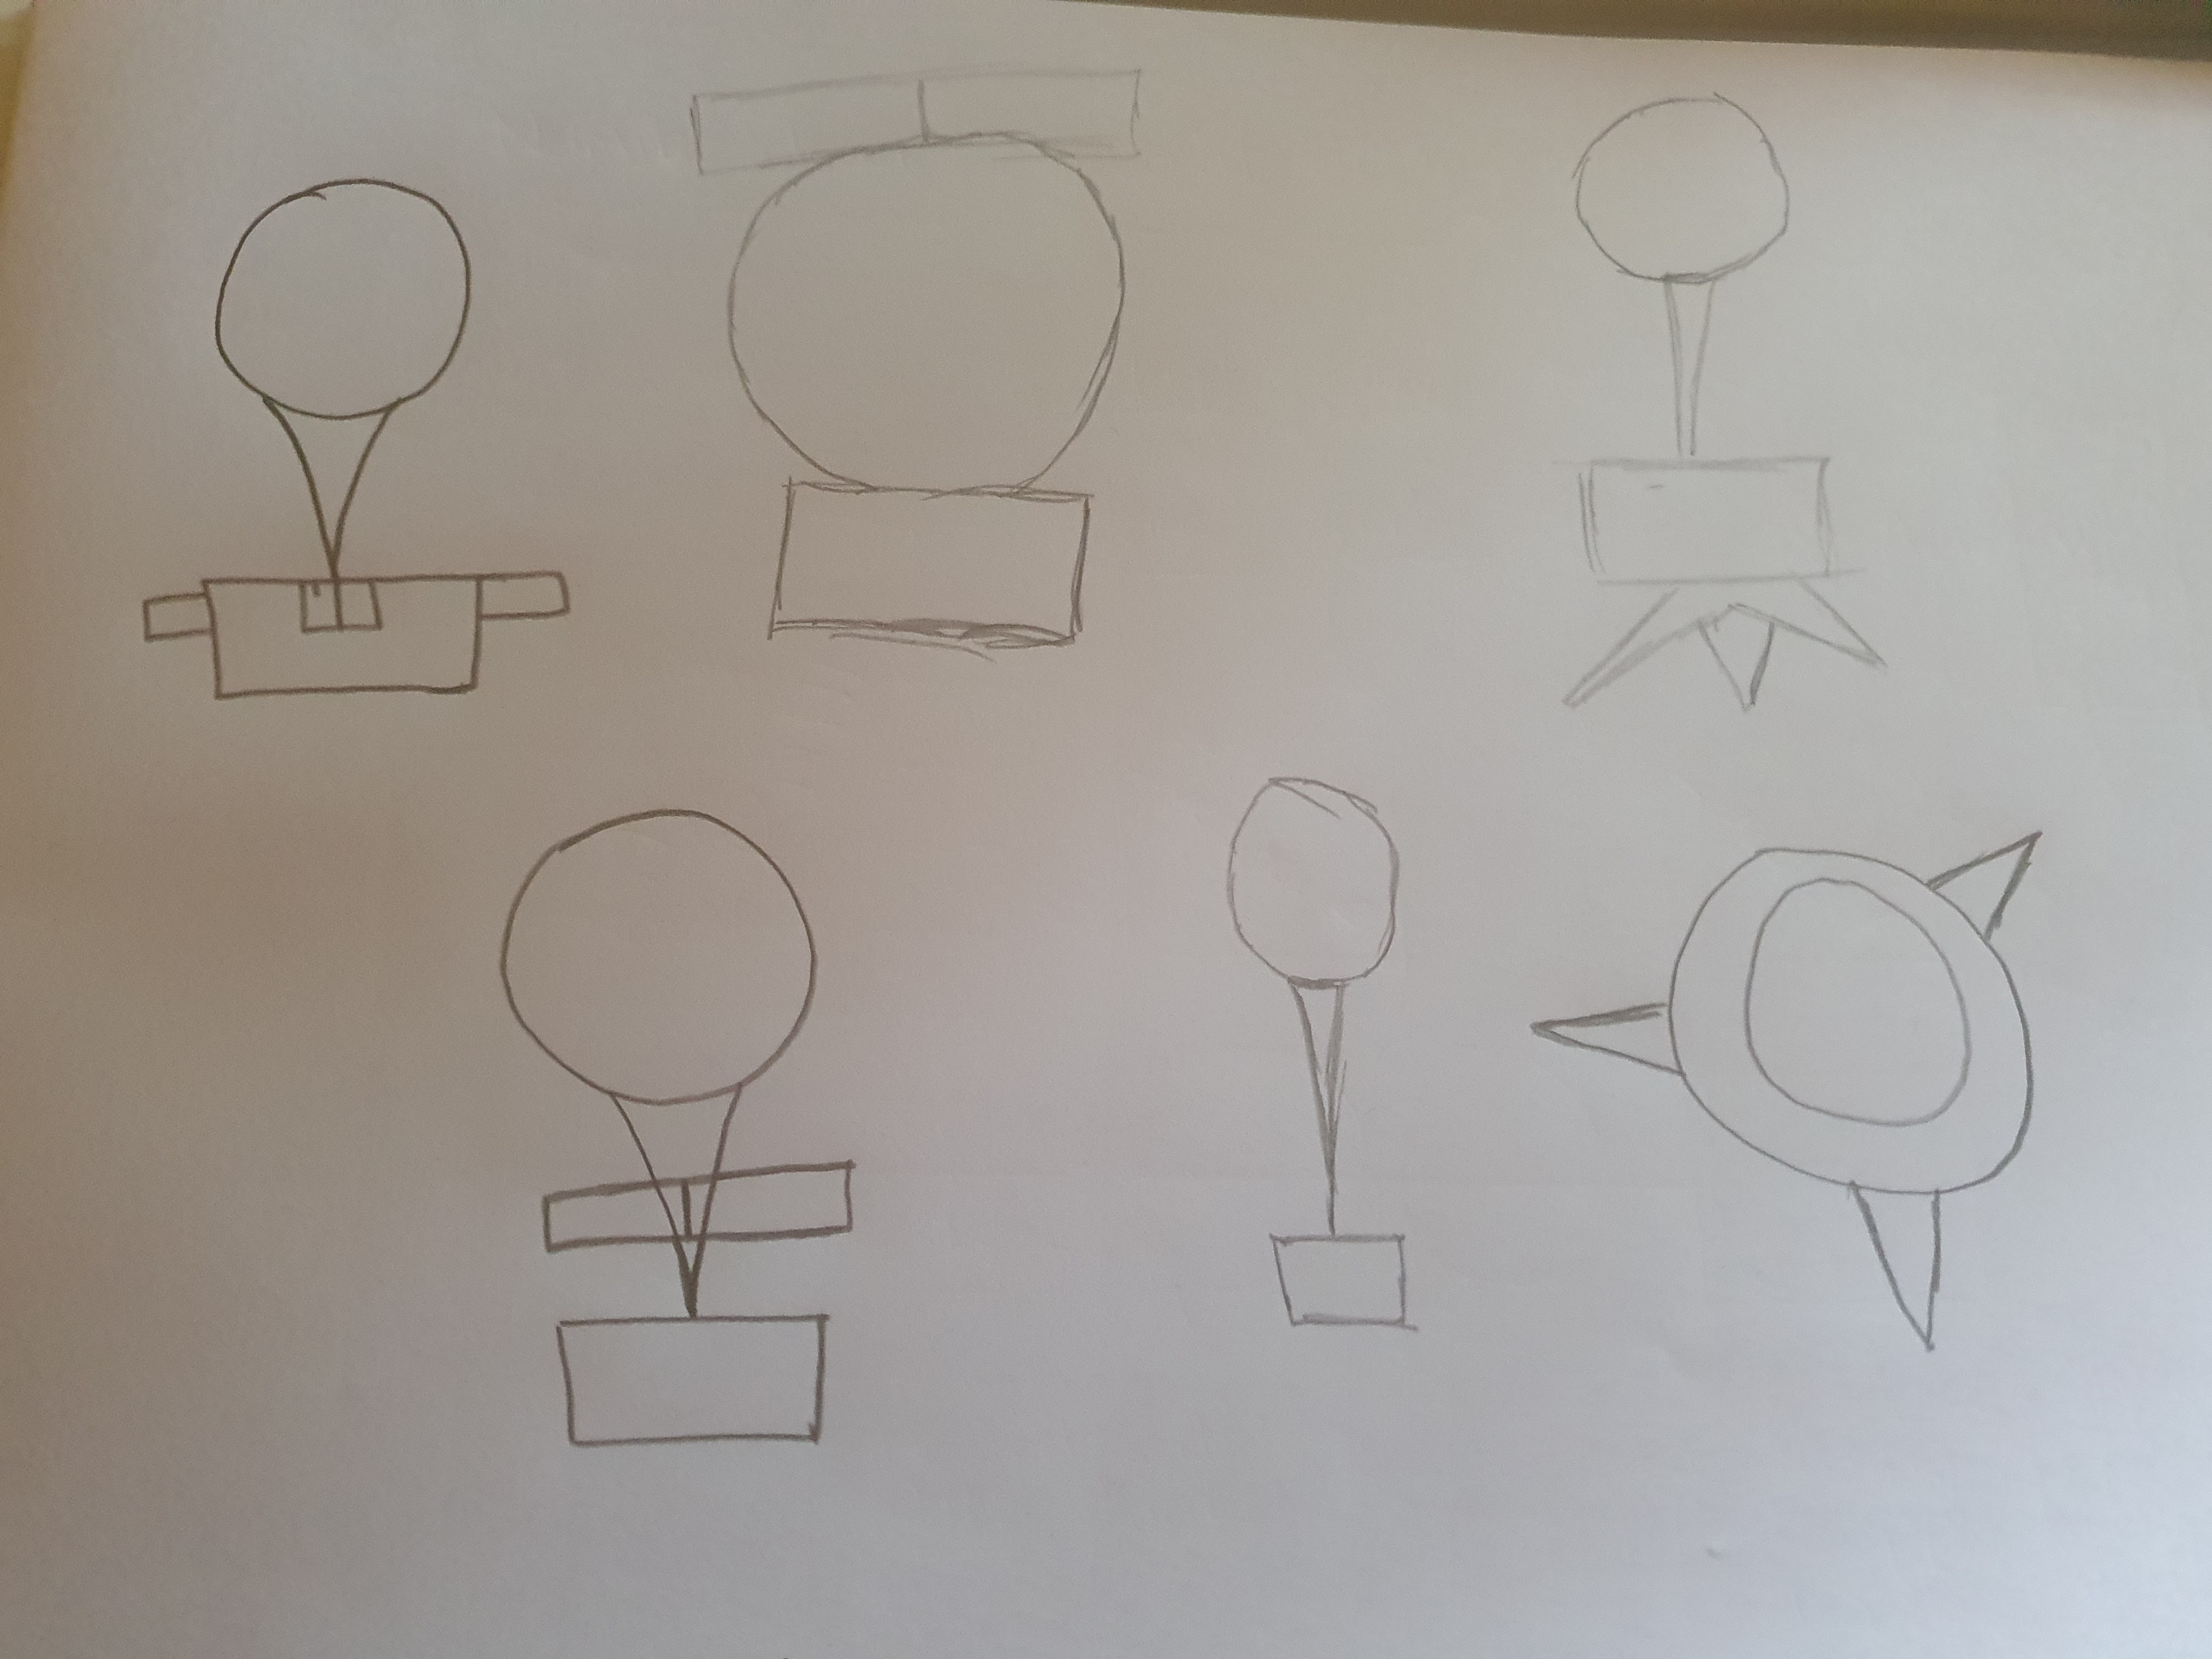
I after viewing the theme board I decided to create a golfing trophy. This would include 3 main components. A base, tee and ball. I started to sketch out different ideas and styles of golf trophy I thought would look the best. I was then able to choose a design to continue with into Fusion 360.
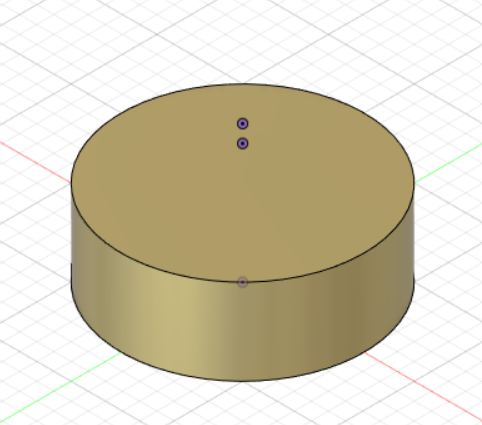
I began in Fusion by creating a new project that would contain the golf trophy. I created a new component within this workspace called base. This would be the trophies base.

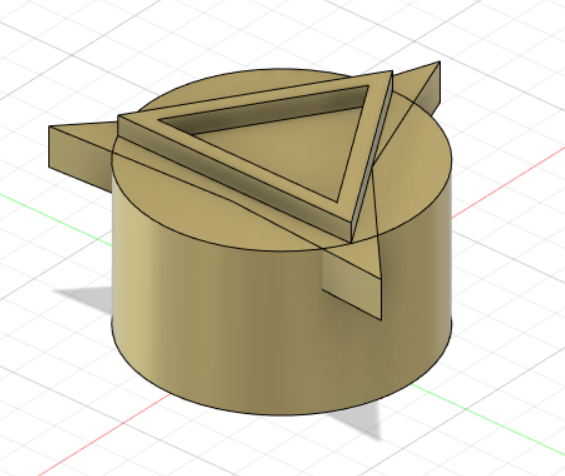
This would be the trophies base. I then created a new sketch on the X Y axis and created a circle. This was then extruded to 45mm to create a 3D solid shape.
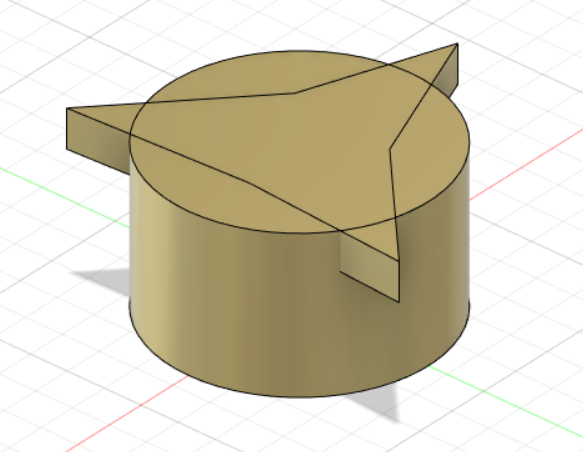
I then created a new sketch and selected the top of the solid cylinder to draw from. I then sketched out a three-pointed star shape onto the cylinder. This was then extruded downwards into the cylindrical base by 15mm.
My next step was to draw the triangle shape on top of the base. I created a new sketch to draw the external lines for the triangle. I then used the offset tool to offset a line from the external one by 5mm. The internal space between both lines was then extruded up by 5mm.
For my next step I created a new component. This was to ensure the animation can be correctly applied to the model after it has been created. An animation required multiple components within a model to allow them to explode. This new component was called Tee.
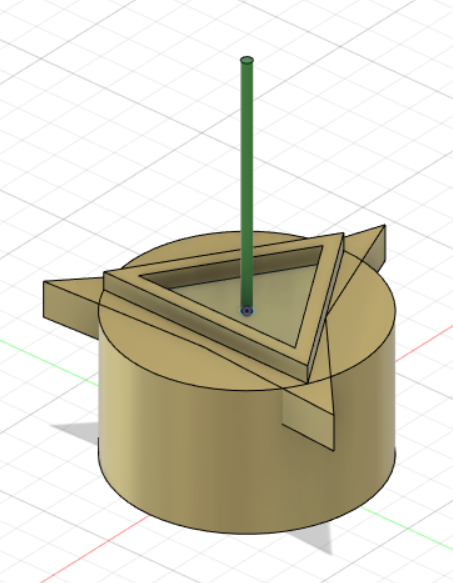
A circle was drawn on the top face of the base in the centre. I was made to be 3mm in diameter. A vertical line was then drawn 75mm long. Another circle was then drawn along the X Y axis at 6mm in diameter. The adjoining line was then deleted and the loft command was used to created a lofted cylinder from 3mm to 6mm.
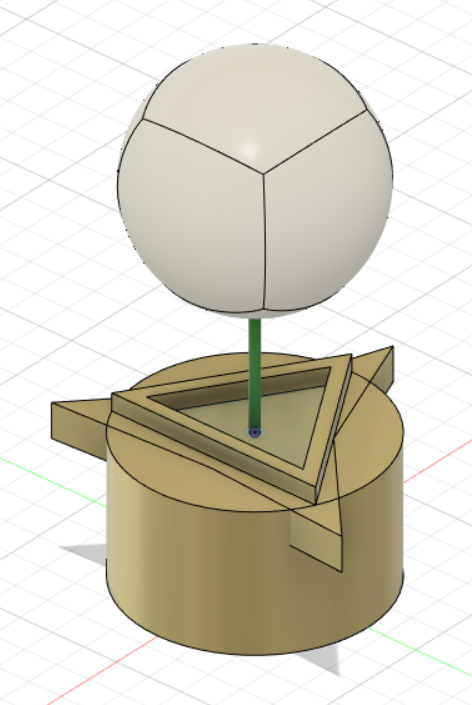
A new component was created called ball and a new sketch started. I used the create form, quadball tool to create a sphere on top of the tee. This was made to look like a golf ball.
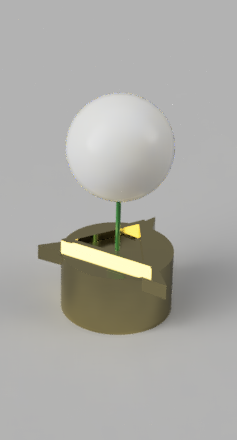
I then used the render tab to apply the materials I wanted to each section of the trophy. The tee was green plastic. The golf ball was made to be a white hard composite and the base was coloured brushed gold.
Animation
To start the animation, I opened the trophy model and went to the animation tab from the design tab. This then allowed me to view the animation UI.
I began the animation creation by selecting the whole trophy and using the auto explode function. I then used the slider on the pop up to select how far I wanted the trophy to explode. I then selected the green tick to finish thew command.
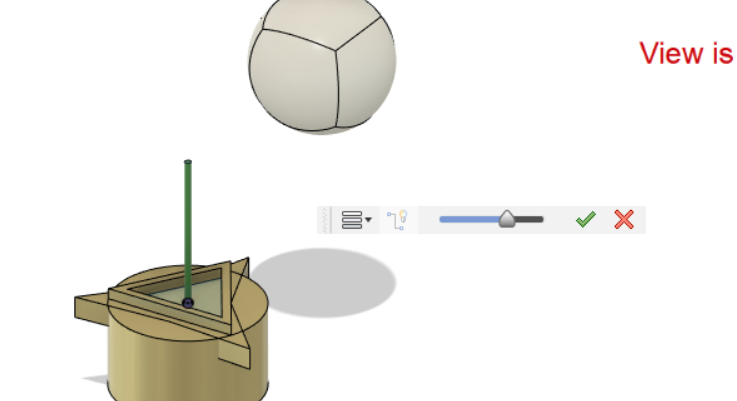
I then edited the timescales and order that the components exploded by using the time bar at the bottom of the page. I edited the positions of each component and when they were to start and finish exploding from each other.

My final animation I wanted to complete was a camera pan whilst the explosion was finishing to show different views of the model. This was completed by using the 3D ortho cube and rotating the model. This added a camera pan to the timeline. This camera pan was again positioned at towards the end of the explosion and the timescale of the pan was made longer to slow the movement down.

The final animation was then screen recorded as show below.