Creating profolio
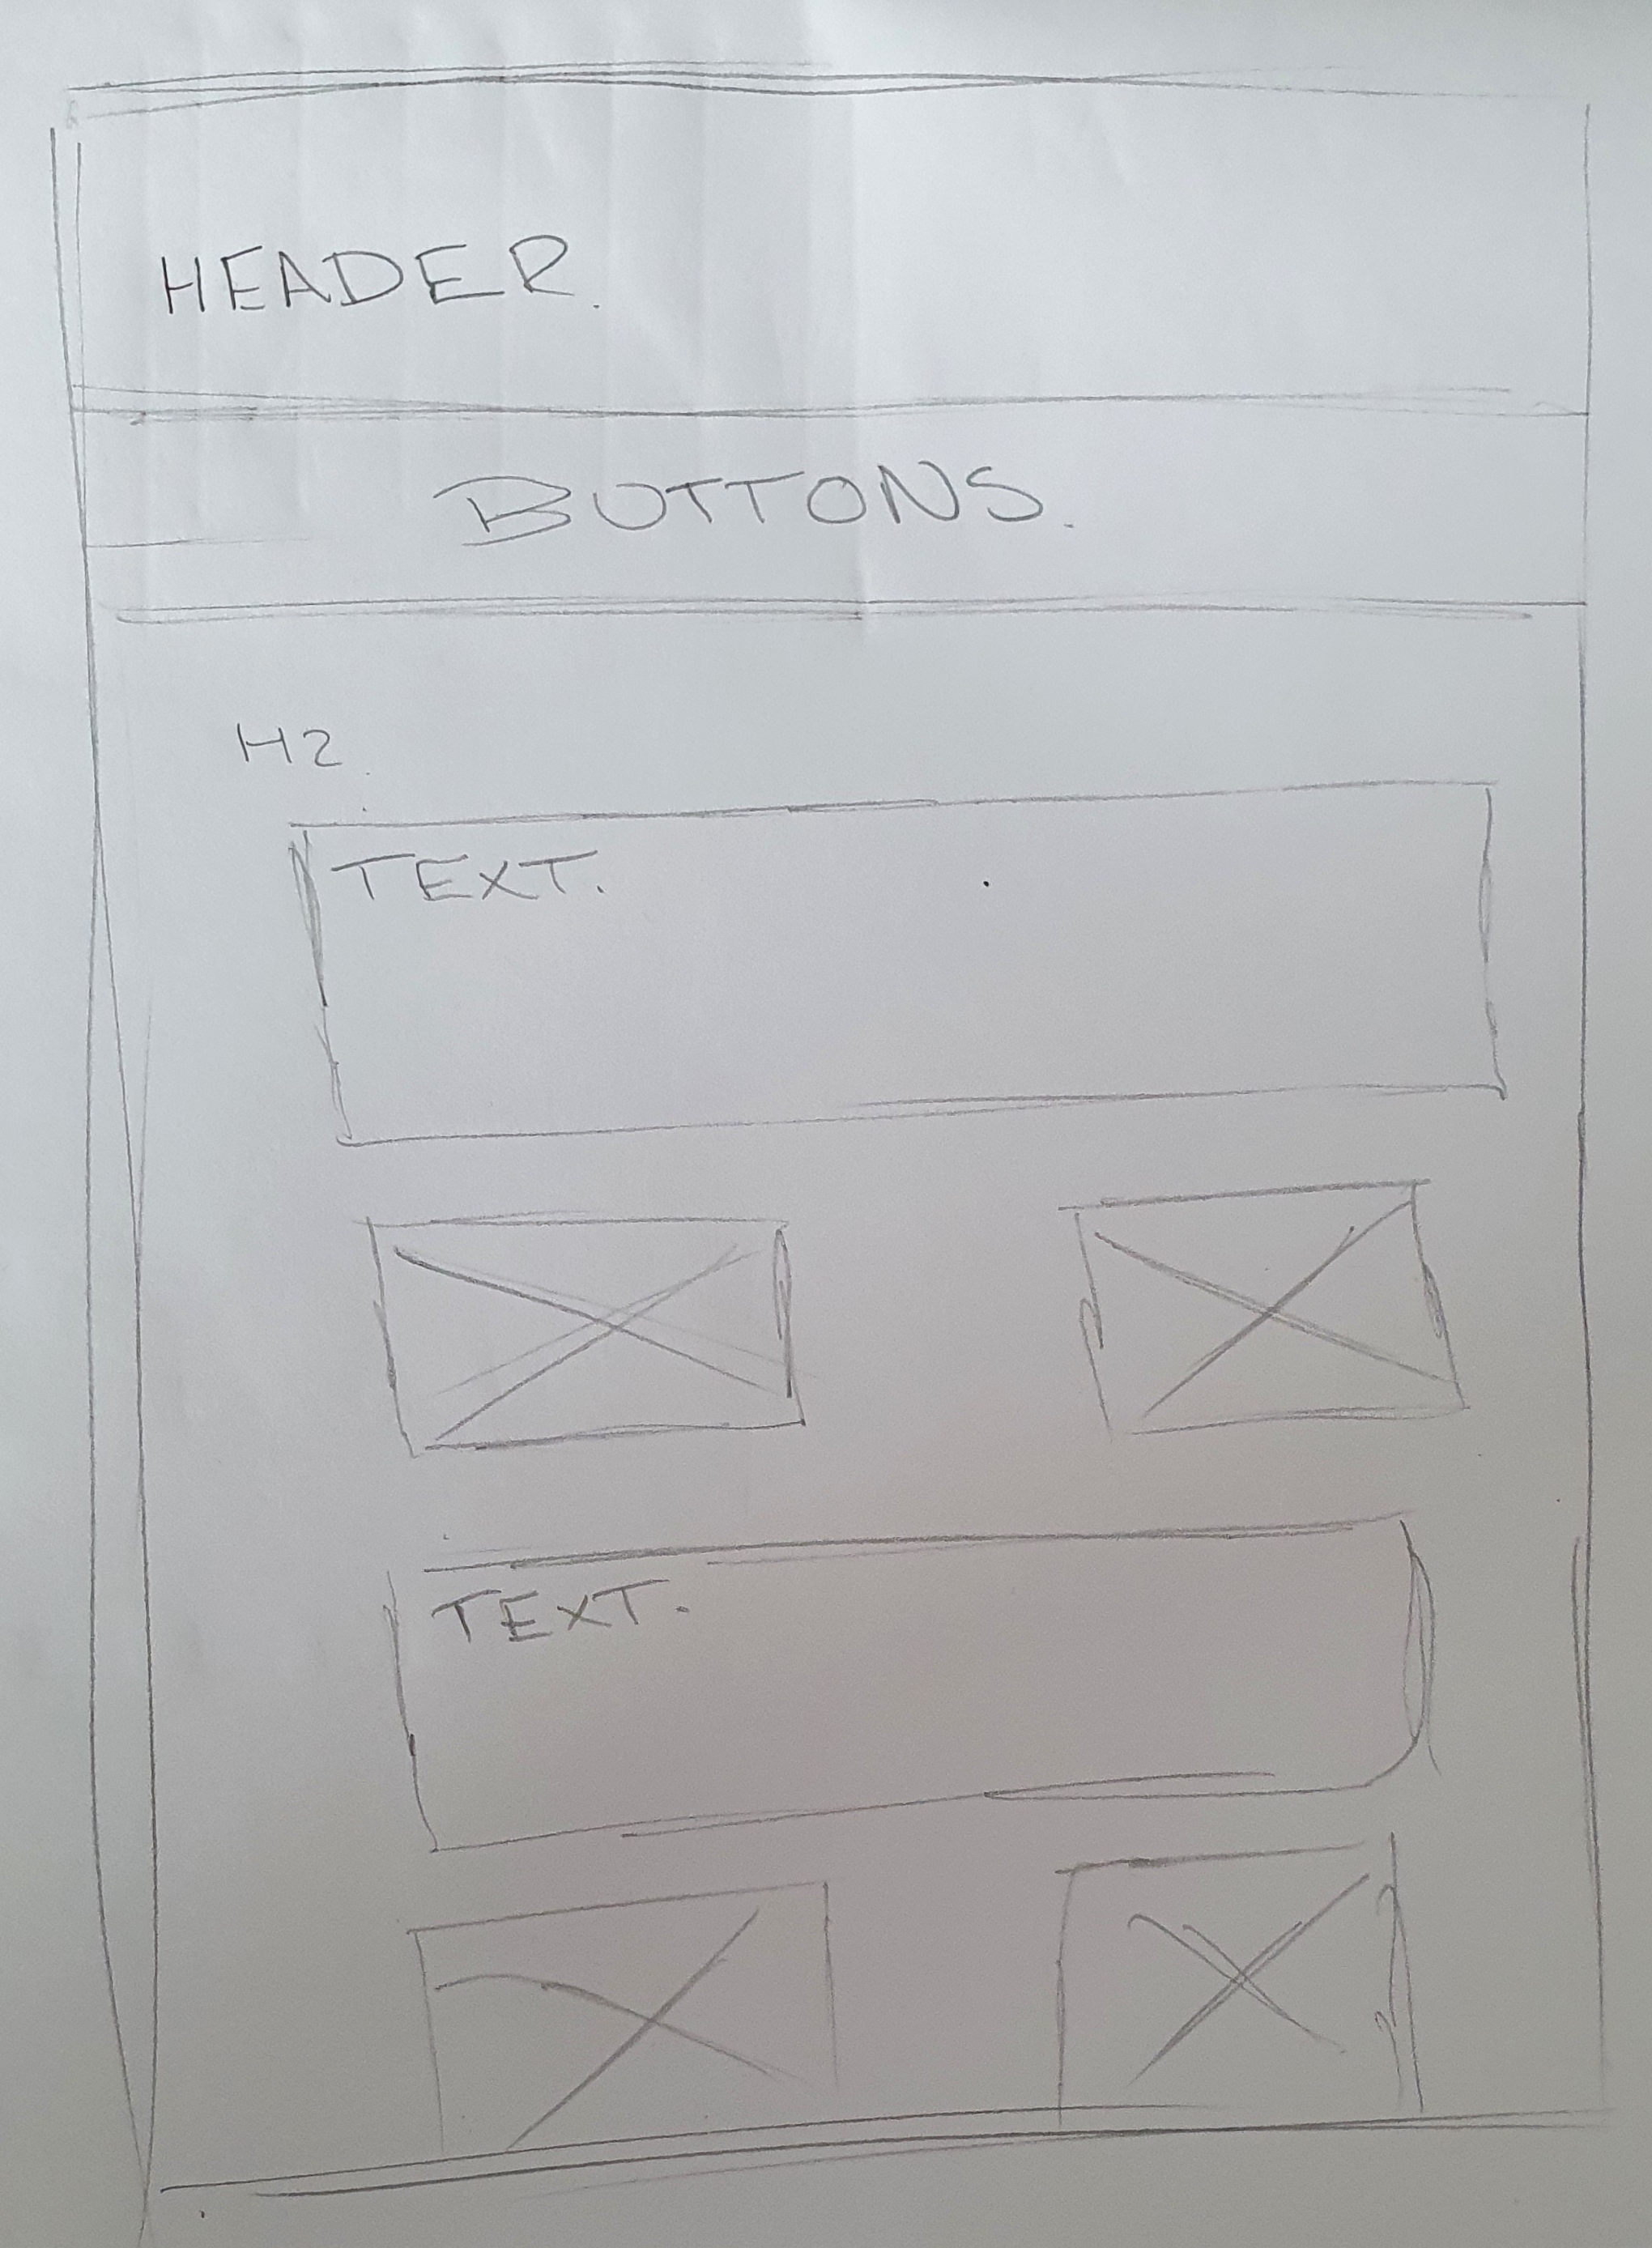
Before I began working on coding my portfolio, I designed how I wanted the website to look on paper. This included where I would like images and buttons to be placed on the website and how I wanted the text to look.
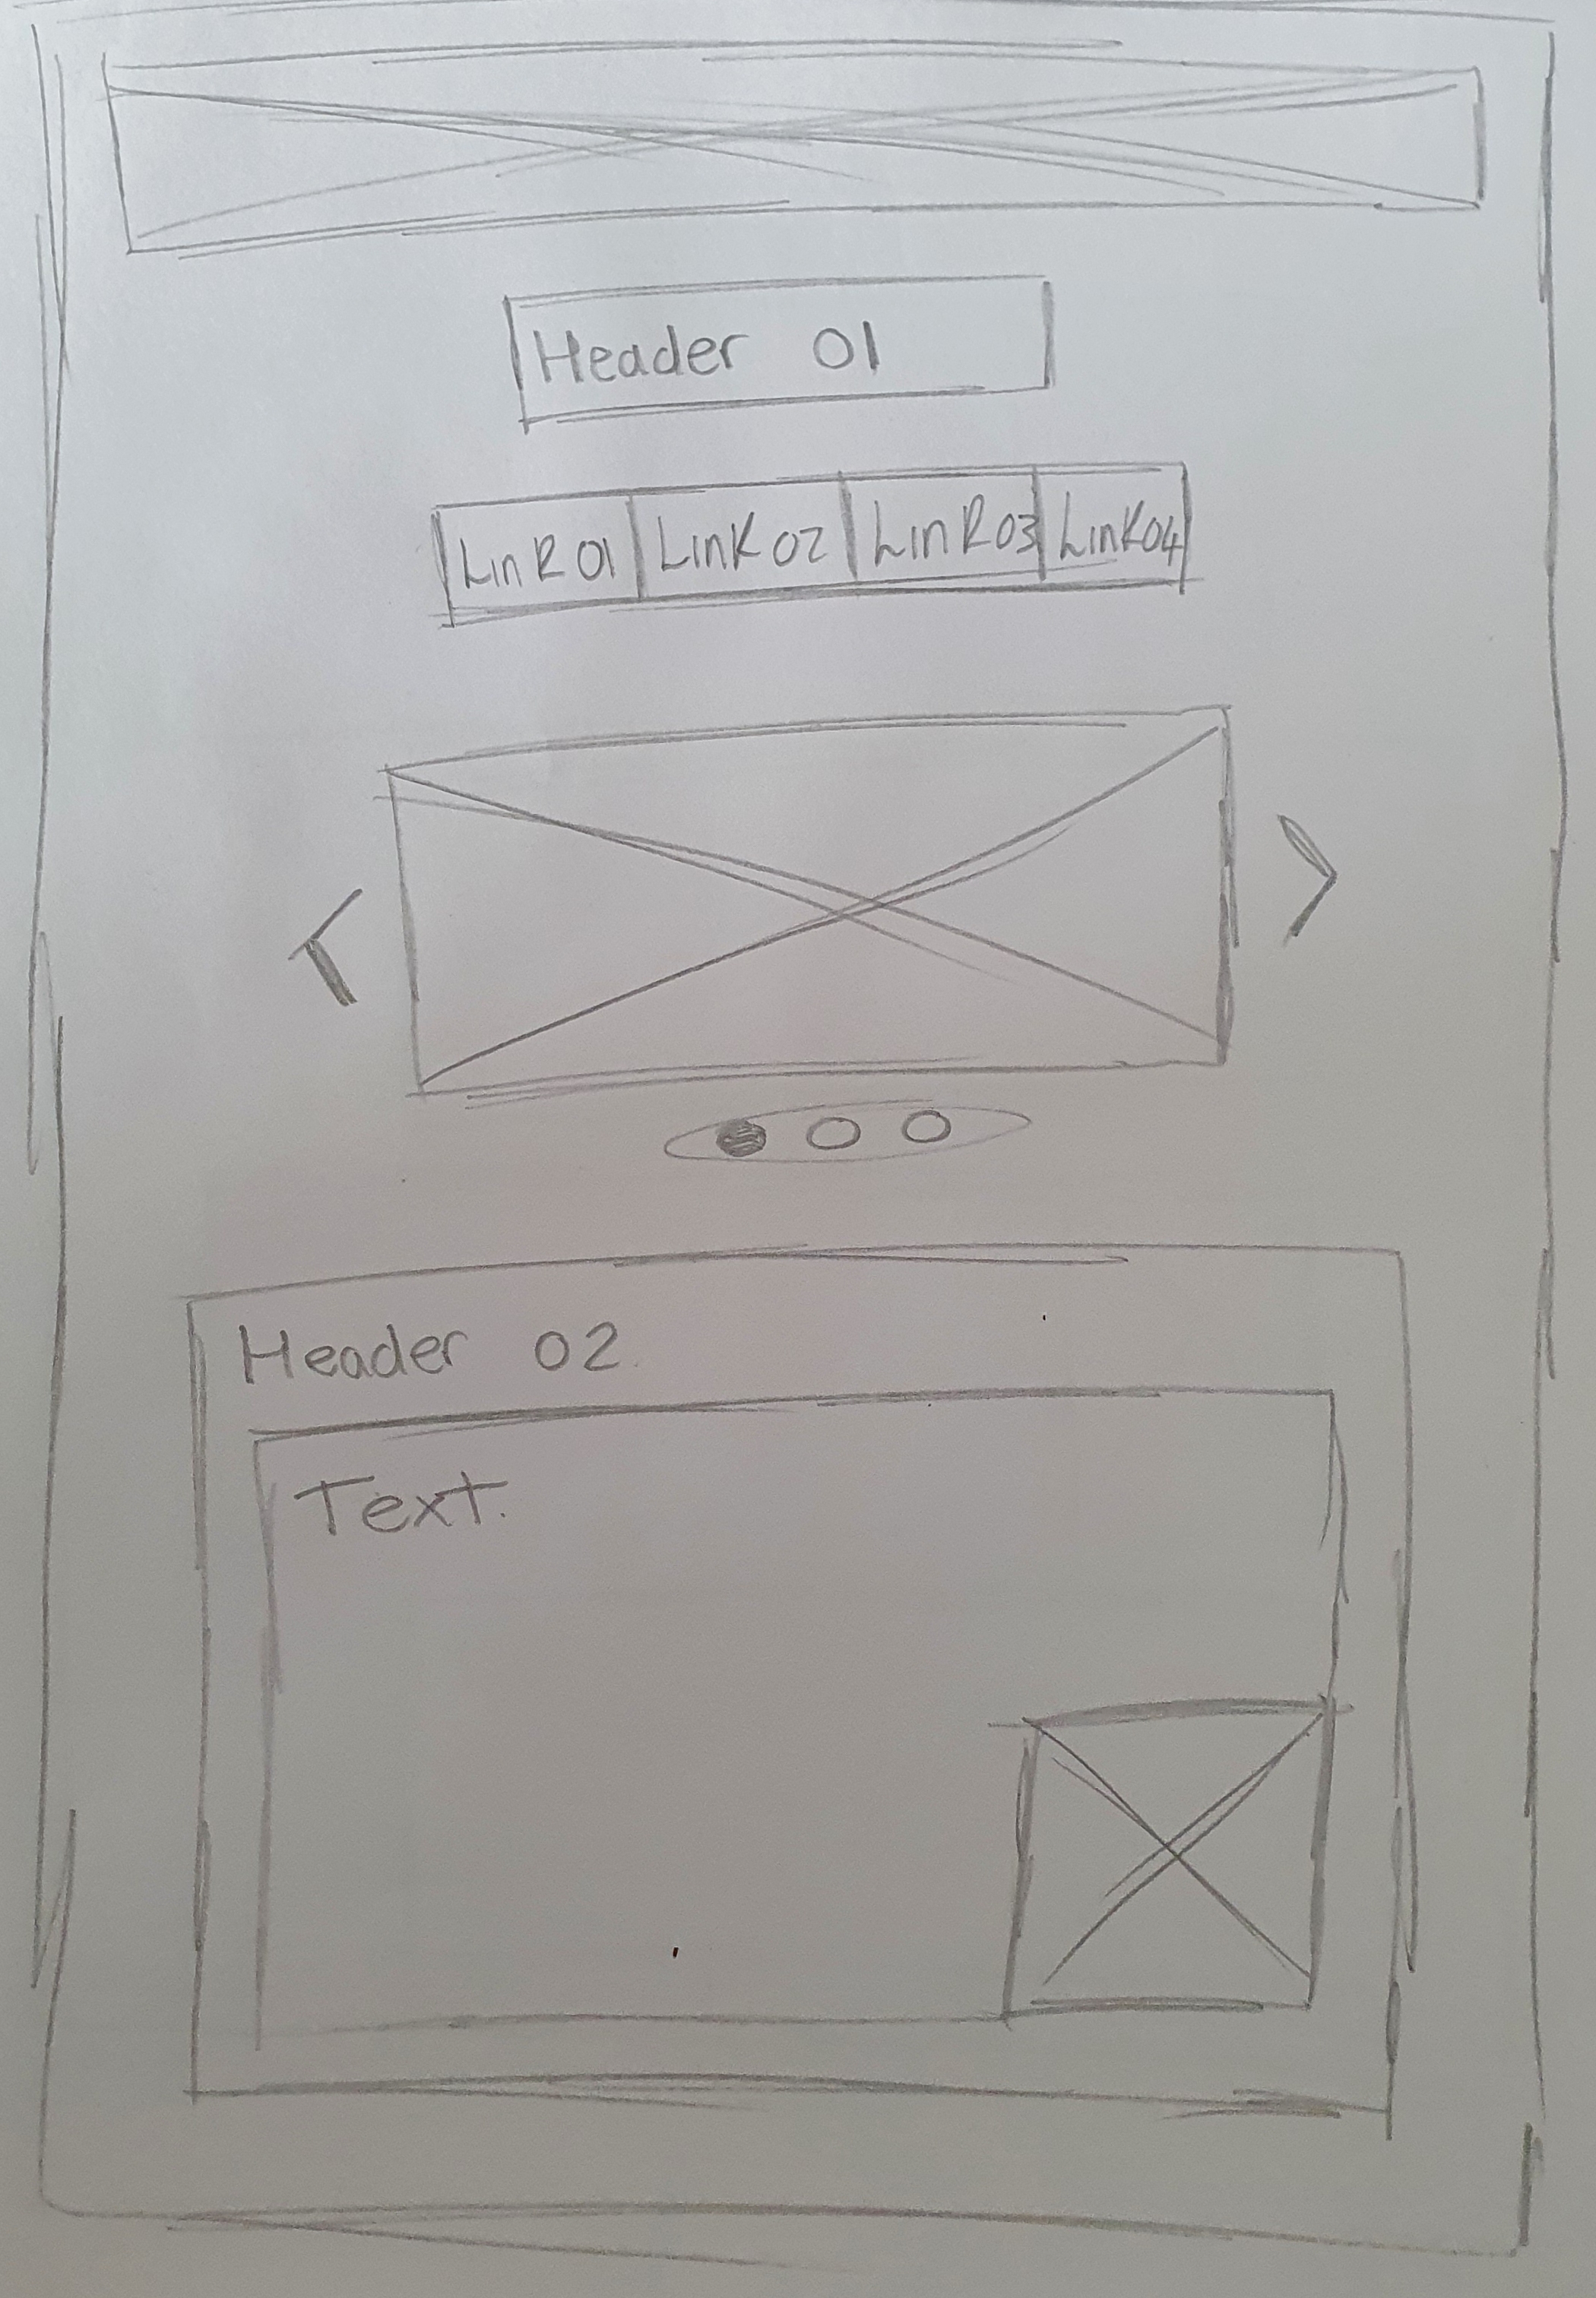
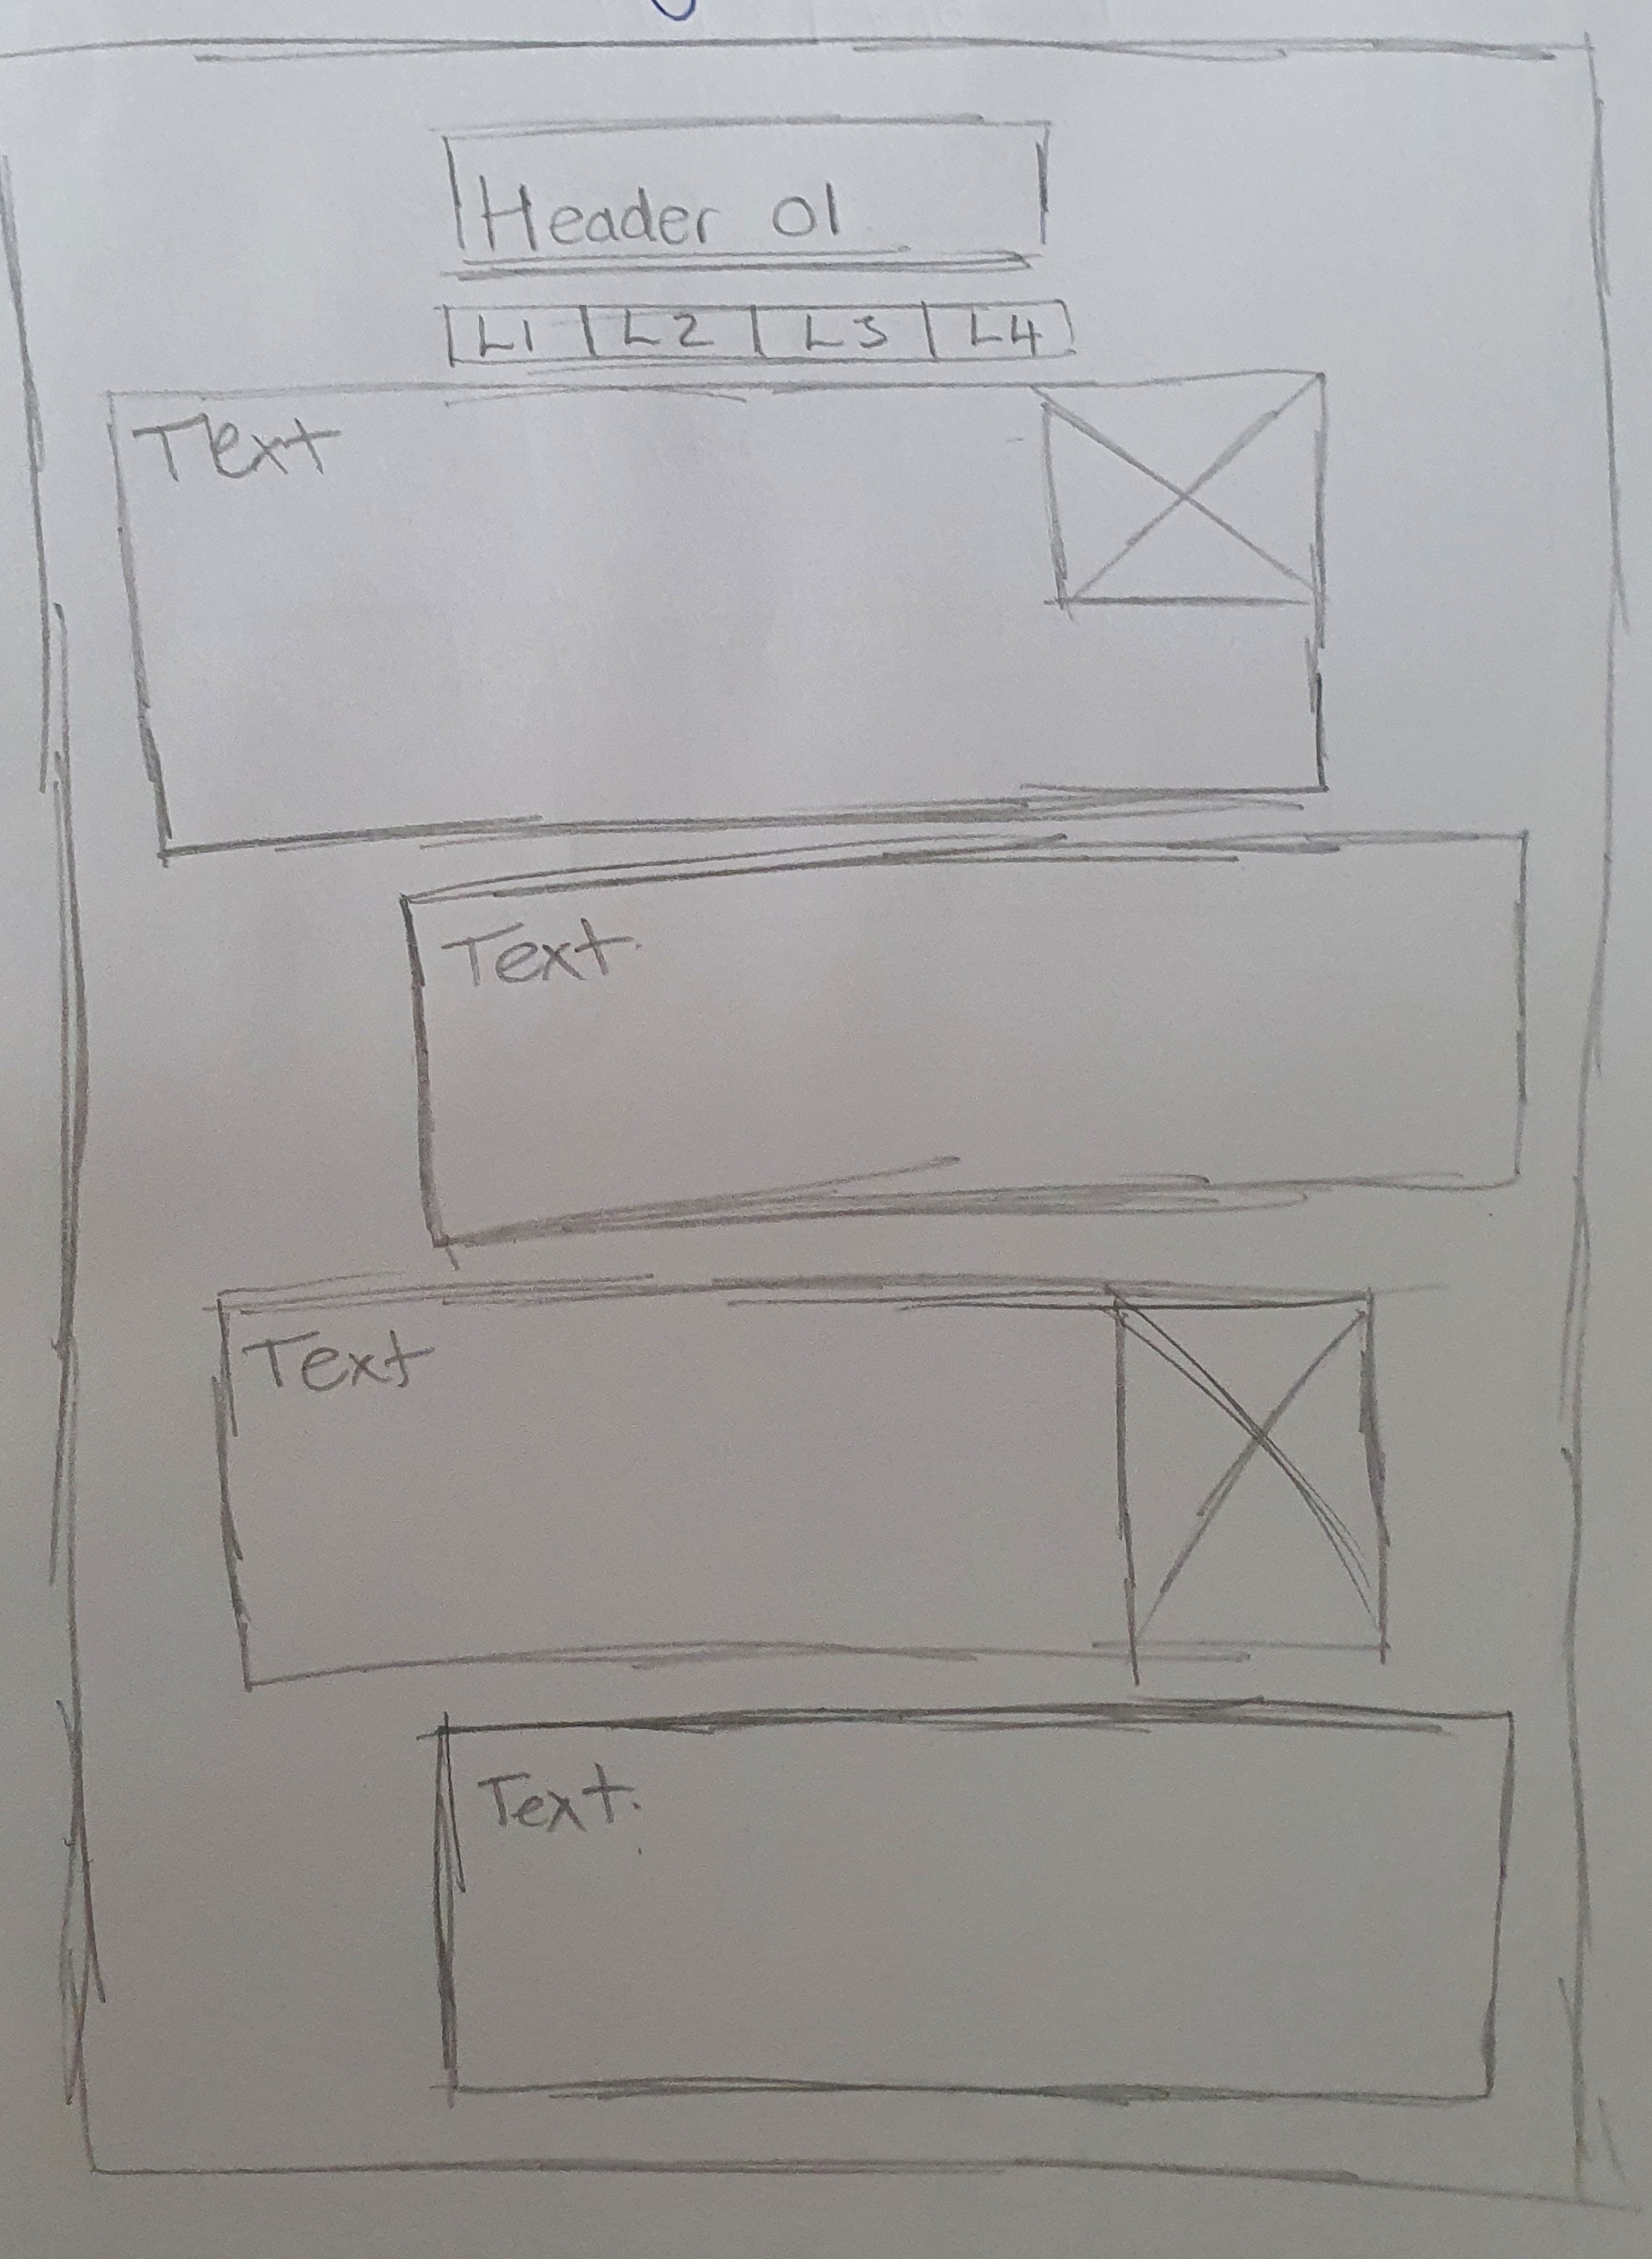
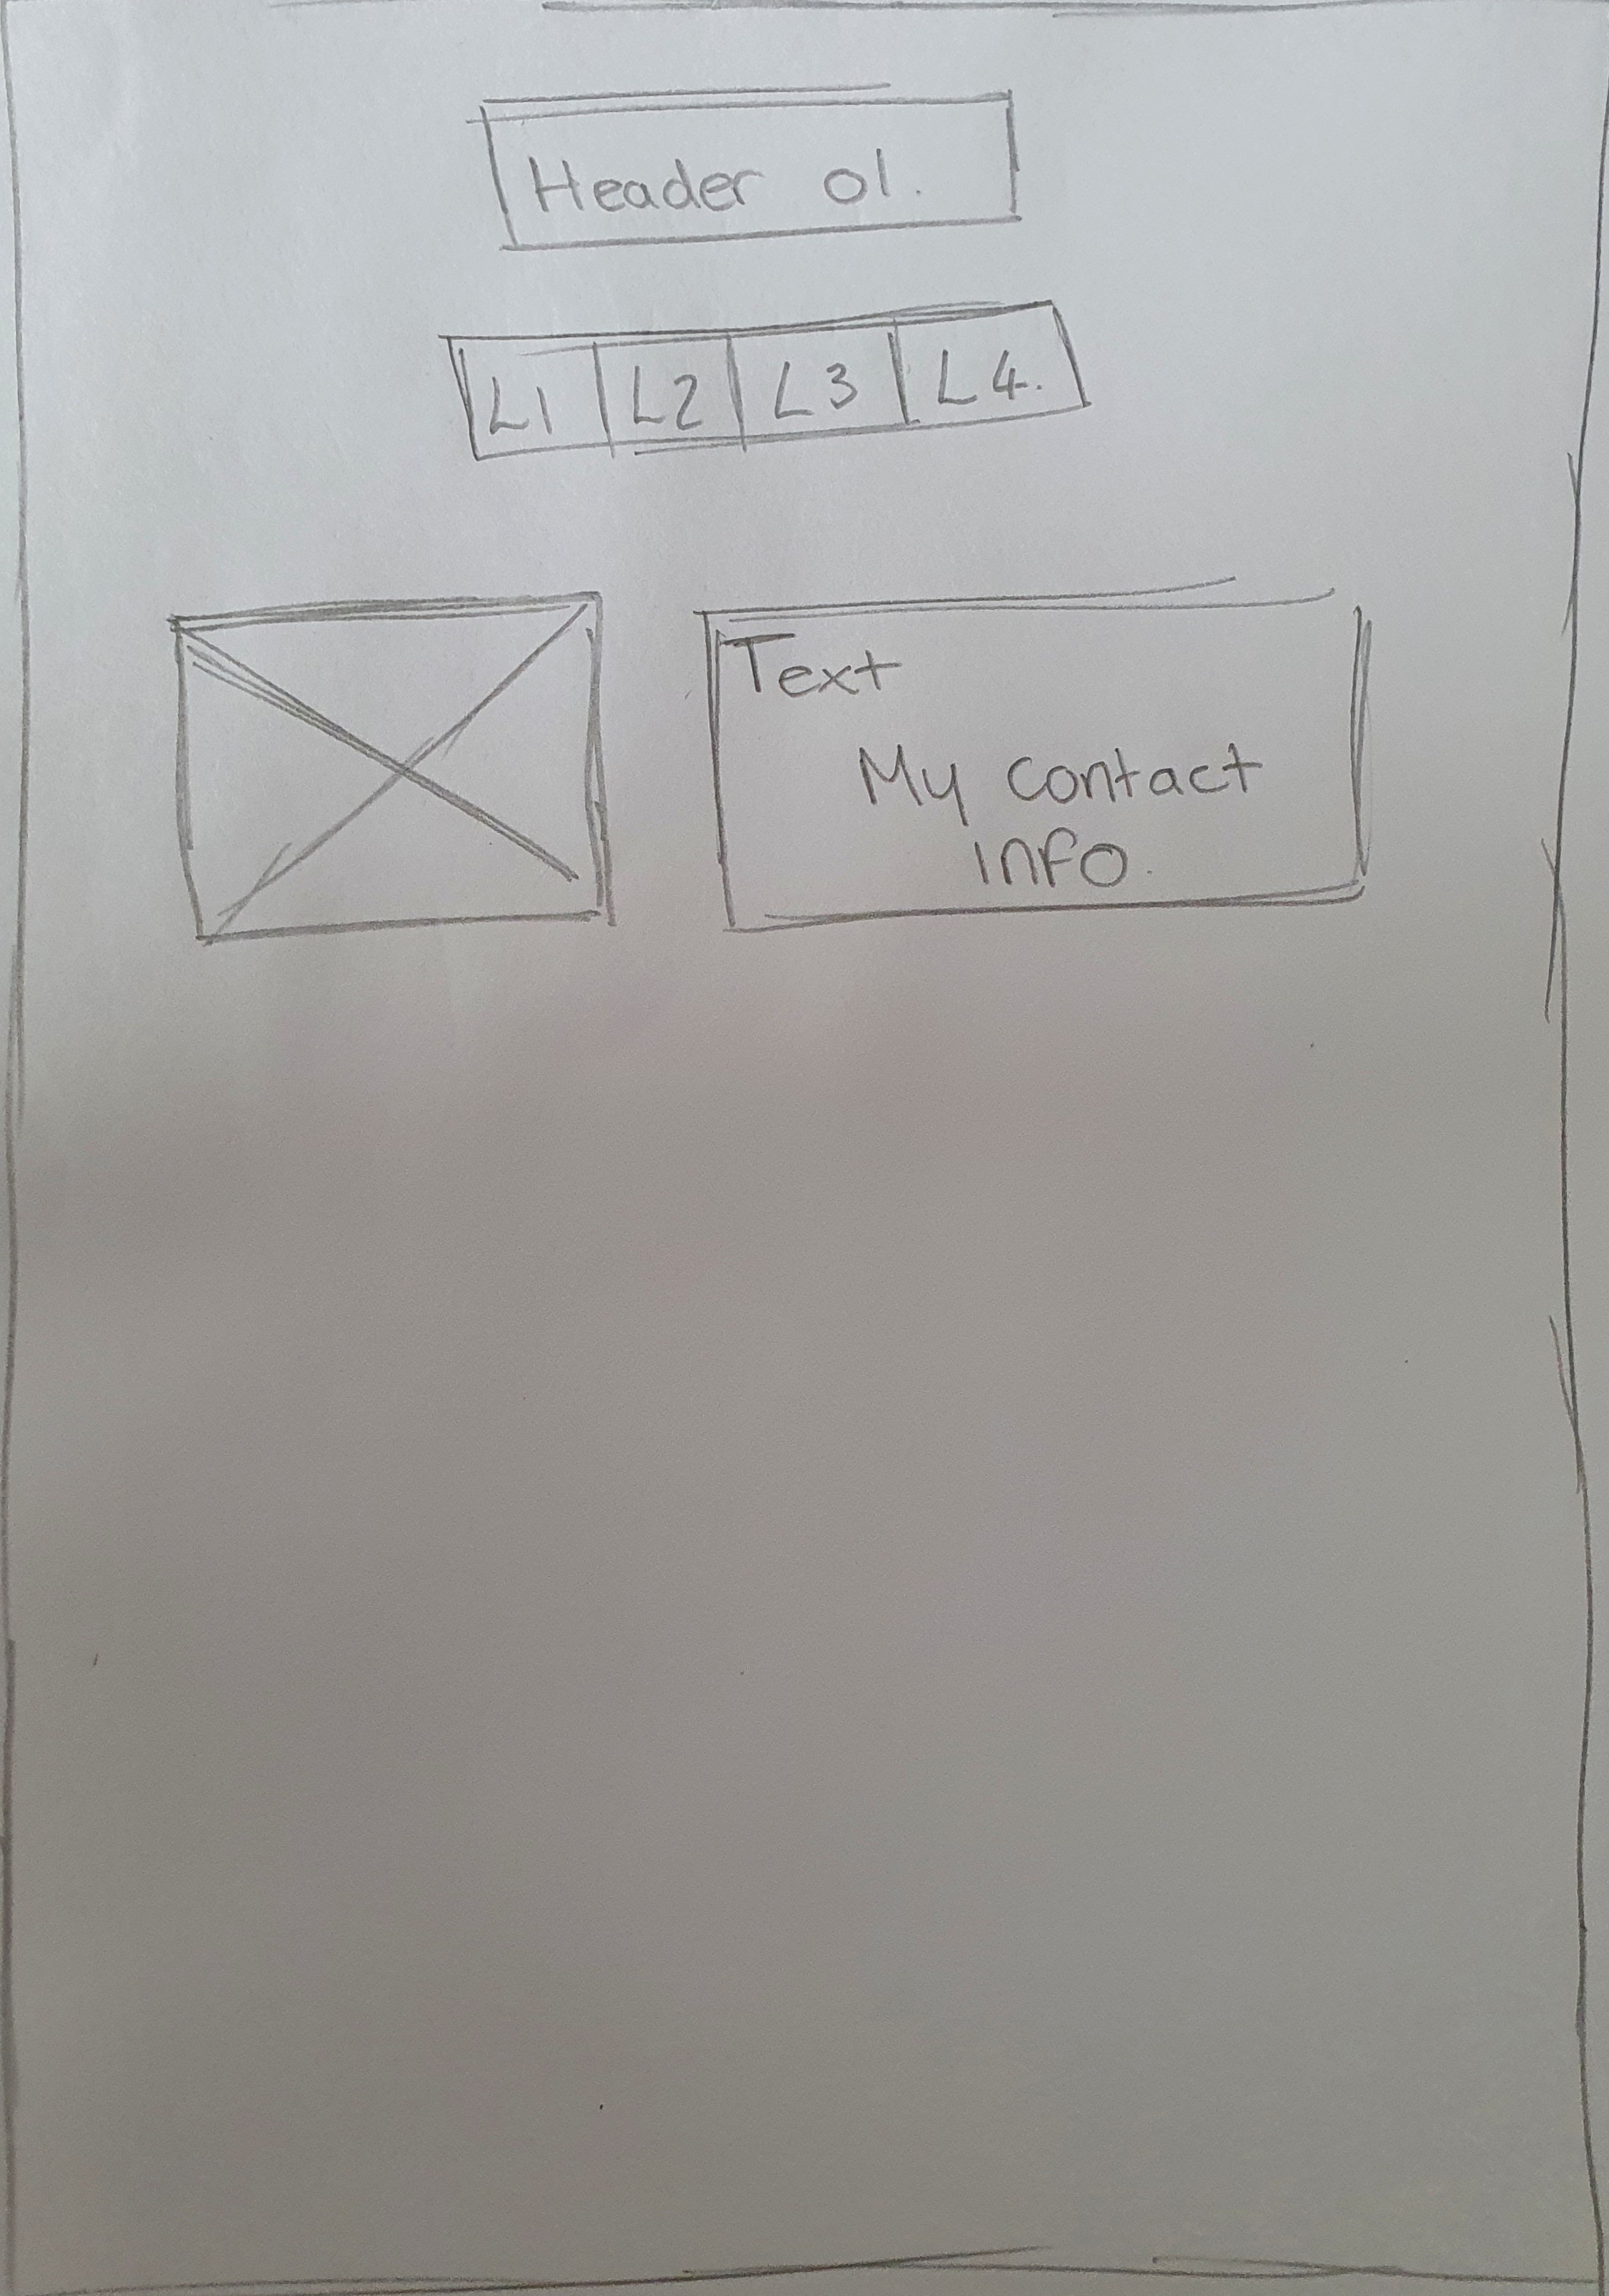
These wireframe designs were then shown to family and friends for comments on how they thought the website would work. They all provided constructive criticism that I could take forwards and include whilst making my website.
To create this website I used software called sublime text. This is a coding software that allows the user to create, edit and save documents that can be used as both HTML and CSS documents.
HTML stands for Hypertext Mark-up Language, a standardized system for tagging text files to achieve font, colour, graphic, and hyperlink effects on World Wide Web.
CSS stands for Cascading Style Sheets. CSS describes how HTML elements are to be displayed.
I began the HTML document by creating a home page for my portfolio. I did this by creating an Index.html. this would be the basis for the homepage. From here I inserted the html, header and main tags to start inputting the information I required on my home page. I also linked my CSS document by using a link tag.
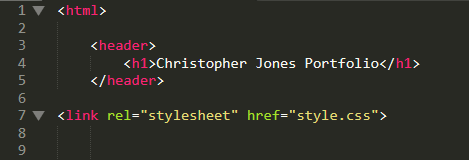
Once I had completed this I moved on to inputting information into my CSS document. This by creating body, header and relevant heading tags that I have used on my homepage of my portfolio.

To create the chosen background colour and text styles I wanted for the website I had to input a body tag into my css file. This allowed me to tell the HTML website what colour i would like to use across the background of my pages and what text styles I wanted to use.

I chose the hex background colour #666D73 which is a grey colour as it fitted nicely with my header image and would allow my text and images to stand out and be seen easily by the user. The colour I chose for my headers is #97CCF7. This colour is lighter and again is very easy to ready with the background colour I have chosen. My websites colour scheme is very suitable to the CAD course in which I am currently studying and it is also suitable for my future career I wish to pursue which will be in the construction industry.
The header design for my website was copied and edited to fit my websites needs. I started by editing the gradient of the line at the bottom of my header to allow for my header text to fit inside the header. I then changed the background images to fit my websites theme of construction. Finally, I fixed my header in place so the user can always see what page they are on whilst viewing the website.


Once I had completed the homepage of my portfolio I moved on to the subsequent pages; computer aided design, portfolio development, contact page, live CV and game project. These pages were created with the same structure as my index page.
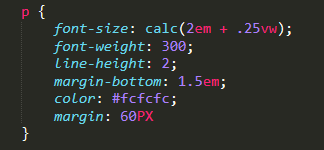
I wanted to keep a lateral theme throughout my website design, due to this fact, all text and colours remain the same on each page to give a simple flow whilst the user is navigating. The text is inserted using paragraph tags, then from this the text style was altered to suit my needs by using a paragraph tag in my CSS document. I wanted to use white text as I felt it would contrast well with the grey background colour that is on every page. I also wanted to keep the text clear and easy to read whilst on any device, this meant me using a font size of 2em + .25% of the viewport. Using these relative figures instead of absolute figures allows for the portfolio to appear the same on all devices no-matter what the screen size may be.
I wanted to incorporate buttons into the website so I went online to see what types of buttons were available online. I used a website called www.w3schools.com. This website allowed me to see and compare different button styles and sizes to see which would work best for my website before I implemented them into the website. I felt using text buttons would be better than using logos or images as the button due to the fact the heading on the website is quite specific and the user nay become confused or mis interpret the buttons for other topics instead of what they are meant to represent.


To add my live CV to the website I created a button to show the user where to get the CV. I then turned this button into an automatic open link to open the CV for the user. This can then be saved or printed from the PDF.
I created this link by using a href link and saving the file I had linked with my web files for this portfolio.

To create the automatic email and telephone links on the contact page I had to first download an image that was appropriate for the icon I wanted to show. This being an email and mobile icon. Once these had been implemented and resized I was able to add the correct link a to them by using mailto: and tel: links.
