Interactive Project
The project brief was set to create an engaging experience through the development of an interactive exhibit. The target age for this project was children in years 5 to 8.
Our group had decided to create an interactive board game that used multiple modern technologies to create. The board game was to be based on teaching younger children (within the age range specified) why certain measures have been taken worldwide against covid and why these measures were an important part of the road to recovery. The game was designed to be an enjoyable way to both teach and learn about the effects and the measures that were put in place to show why such things were necessary. We had decided to call this game Shambles due to the state of the past year and the stress and problems it brought to everyones lives.
The group consisted of 4 members each with a varying background of skills. The members were myself, Ervins Puskts, Ryan Skeats and Oskar Prahl. My role in this team as the Computer aided designer was to create a scale for the board, scale size for each playing piece to ensure they are all similarly sized and are at a good size ratio when compared to the board. I would also have top research and create 4 of the playing pieces myself before they were to be passed onto the other members of my team for creation in their 3D visual programs.
Research
To begin my research for this project I started by creating a theme board of current playing piece design. I used Pinterest to create a board showing current designs that are being used currently for games that use playing pieces. The notable games I focused on were monopoly and chess. Both of these games involve small, shaped playing pieces that can be moved around a board to play the game. This is the style of piece I wanted to create.

Once my research had been completed and I had a good understanding of what pieces I felt would work for our style of game I started to draw designs for items that would work well as playing pieces for a board game and had a relation to the games theme of Covid-19. I came up with 4 playing pieces that I wanted to design; a glove, a test tube; 2 metre social distancing and lockdown. I felt I could represent these areas well from a design and model point of view and they are all relevant to the theme.
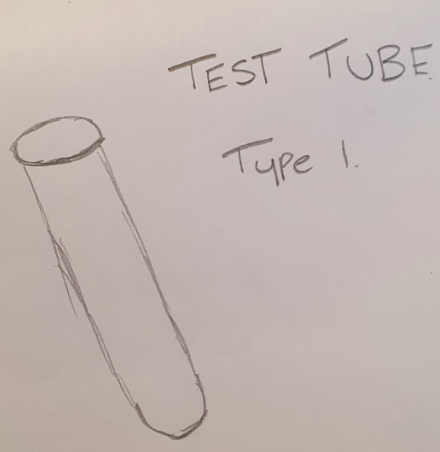
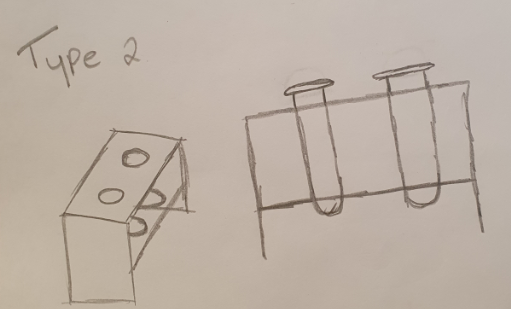
I began by drawing out a standard test tube however I felt this would be hard for the player to pick up and move due to the shape. I therefore looked at the ergonomic and anthropometric data to see if I could find any information regarding the use of a childs thumb and index finger or grip. I found the relevant information and I was then able to further understand the size of the playing piece I was required to create. Looking at the anthropometric data for grip between the middle finger and thumb on a horizontal basis for children between the ages of 9 and 13 (which is our years 5 to 8 age range) was 90mm. once I had this figure, I was able to set a maximum size for each piece. However, I was also limited to the size of the pieces in relation to the board size itself. I had therefore decided to create each piece around 30x25 mm depending on the object itself. However, I felt I could keep all designs close to this size. Once I had this information, I was able to further my designs for the test tube. This involved me drawing sketches for a miniature test tube rack.
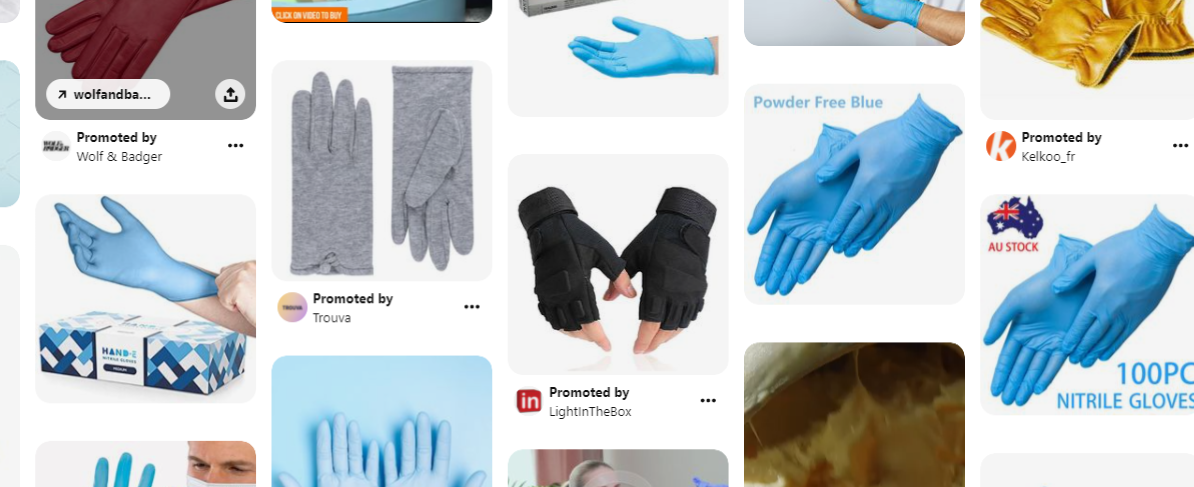
The second playing piece I began to draw was the glove. There were numerous glove designs I could look at creating so I decided to create a theme board on Pinterest showing different glove designs from around the medical field.
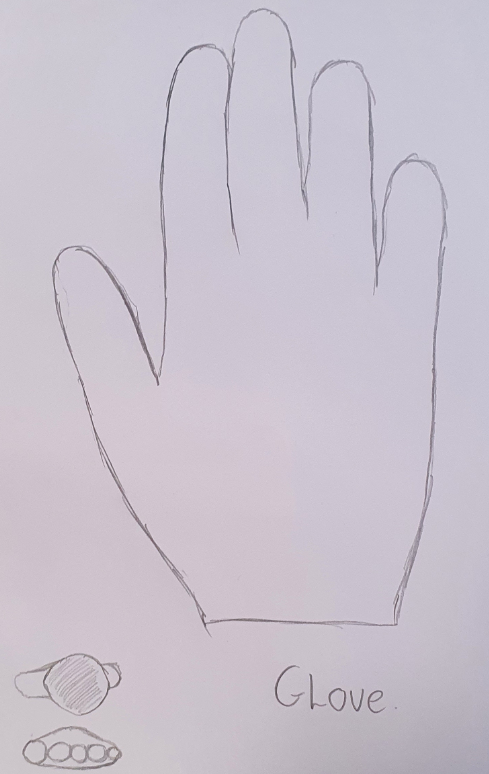
After I had gathered information and design inspiration for the glove design I decided to sketch a 3D smooth polyurethane style glove that has been the most common throughout this pandemic to continue the theme for this board game.
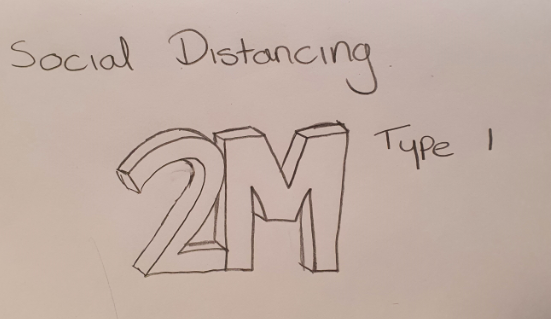
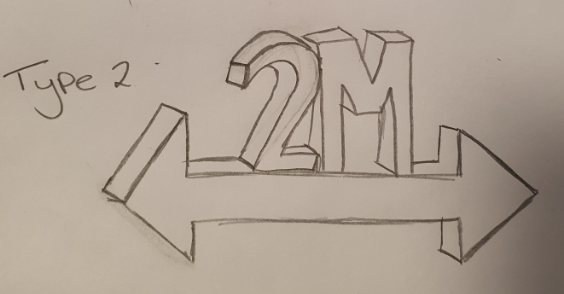
The third playing piece I wanted to sketch was a 2-metre social distancing. This was a difficult item to design as it was open to a lot of interpretation by myself. I was able to create multiple designs with varying portrayals of the piece. I had drawn a few ideas and then went back to the team to get feedback and find out which they preferred. After having a discussion we narrowed it down to two designs that I would look to create in AutoCAD to see which we preferred.
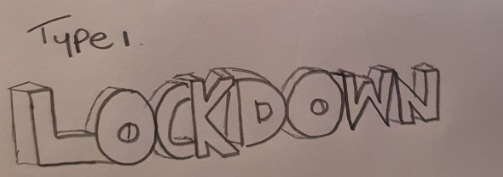
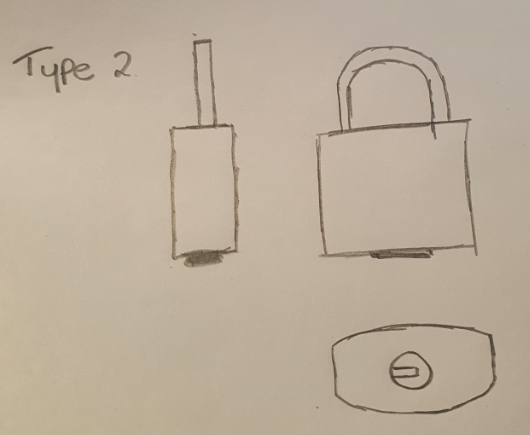
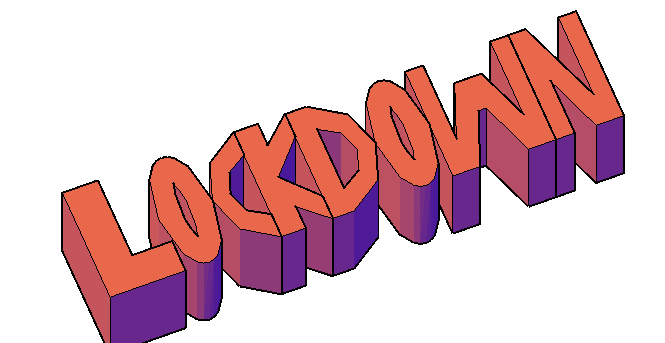
The final sketch I had to complete was for lockdown. For this design I created multiple variants of designs showing different views on how this word could be translated to a playing piece. I created a simple word design of LOCKDOWN and I also sketched a lock to represent the lockdown. Both designs were to be drawn in AutoCAD to see which we liked more as a team.
Once these sketches had been finalised and coloured, I was able to carry them forward to AutoCAD to design in 3D.
3D Model Creation
I began the 3D model creation in AutoCAD by opening a blank 3D model space document. The first design I created in AutoCAD was the test tube rack. I began this by first creating a cylinder that would act as the test tube. I then added a sphere at the bottom of the cylinder to create a rounded end on the tube. The circle and cylinder were then subtracted from each other to stop any overlapping of the two objects.

After this I created a circle that was smaller in diameter than the cylinder. This was then extruded down through the cylinder and subtracted to create a hollow test tube shape.
My next step was to create the rack that the test tube would sit in. I had extruded multiple rectangles from each other to create a standard test tube rack shape. I measured out the top of the rack into thirds and extruded 2 larger diameter circles than the test tubes through the top and bottom surface of the rack. This gave me the holes to place the test tubes in.
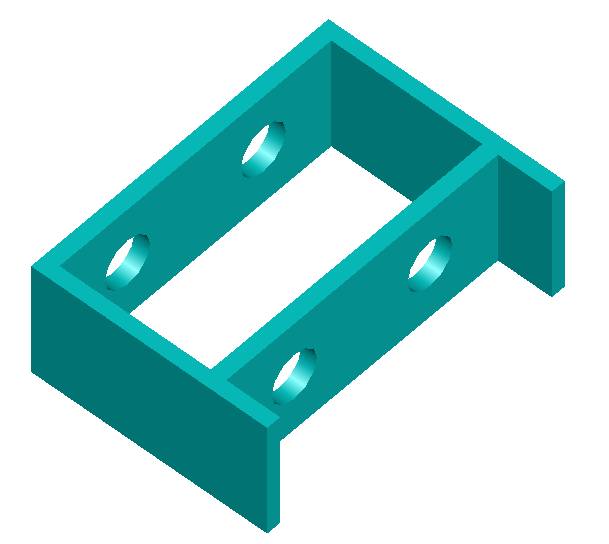
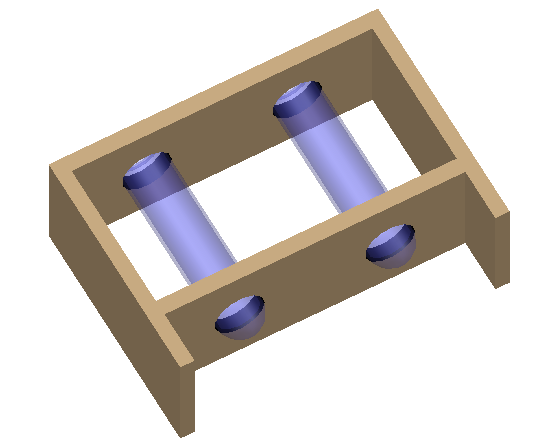
To finalise this design, I had to apply the correct materials to give a realistic effect. The test tubes were applied with a glass material whilst the rack was given a wooden appearance.
The next piece I created in AutoCAD was the glove. This was created by firstly drawing out a 2d outline of a glove shape. This was then extruded to create a 3D shape. This 3D shape was then smoothed using the smooth more tool. This gave the glove a much more realistic appearance even before the materials had been mapped.

The final step in the creation of this piece was to map the required materials. Once I had applied the polycarbonate material the glove became clear and looked as I had sketched initially. It was then ready to be passed on to my teammates for creation in their 3D programmes.

The third 3D model I created was the 2-metre social distancing. I created 2 designs for this in AutoCAD to find out which would look better. The designs were created by drawing an outline in 2D and extracting the shapes down to create a 3D model.
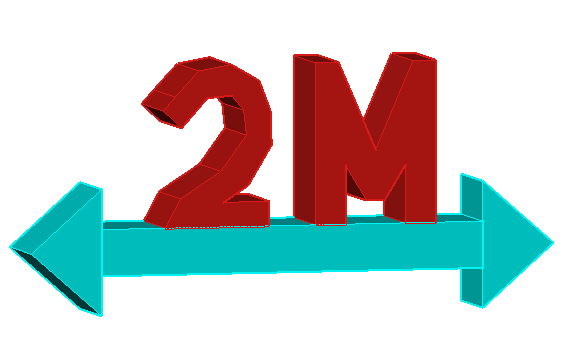
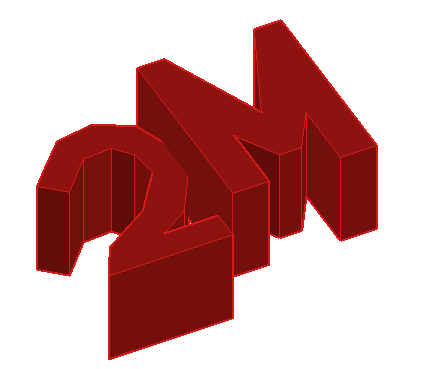
The design we decided to use and carry forward was the design with the arrow beneath it to show how the 2-metre gap needs to be kept.
The final model I created in AutoCAD was the lockdown piece. I first drew out a 2D outline for the word lockdown which once joined together I was able to extrude and add colour to create the final playing piece.
The second design variant of this piece was creating a lock that would represent lockdown. I began by creating an extruded rectangle to form the lock body. Then on the top surface of the lock I drew a small circle at the base of an arc. This circle was then swept along the arc to create the top metal part of the padlock.
The next step of this design was to draw a small rectangle at the base of the padlock to act as the hole that the key would slide in to unlock the padlock. This rectangle was then extruded inside the lock body and subtracted to create a hole.
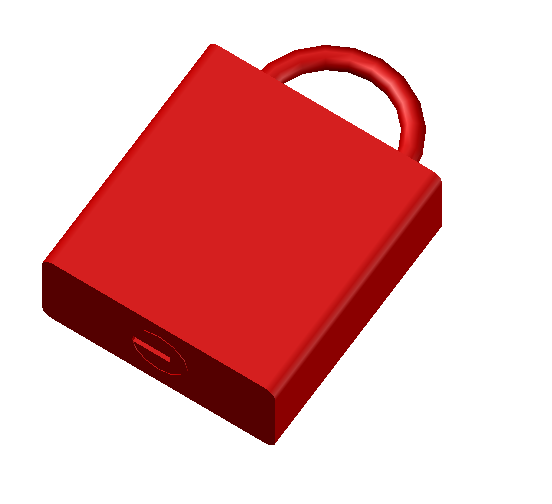
I finally applied the metal finishes via the materials panel to create the correct look for the padlock.
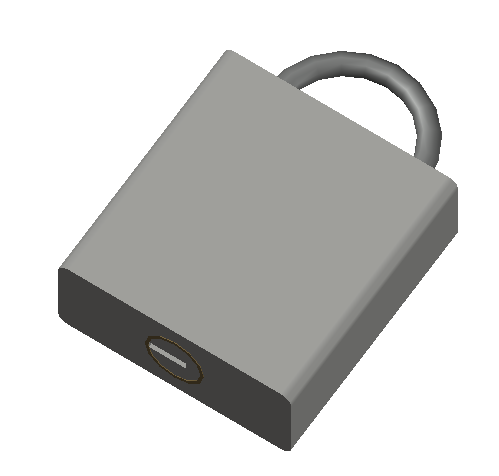
These models were then sent to the rest of the team to allow them to recreate the models to scale in the correct 3D environments.