Mobile Device
The brief for this project was to create a prototype for a mobile, portable, wearable, or integrated device. We were also given a list of contexts to make this device applicable to. From this list, we had decided to create a wearable device that would improve the user's use of public transport.
For this project, the team consisted of myself, Nikita Sineiko, Maria-Christina Chirpac, and Holly Groves. My role in this project as the computer-aided designer was to gather research for both the product itself including designs and styles whilst also researching the relevant ergonomic and anthropometric data required for the wearable device that we were looking to create. From here I could begin to sketch out design ideas. Finally, I was able to create multiple designs in Auto CAD and then allow the team to choose a final design to carry forward. This journey will be documented below.
After numerous discussions as a group about what area to take develop our ideas into we chose to focus on train travel. We felt this was an area of public transport that we all used regularly. Therefore, felt we would be able to apply our own knowledge as well as any research we could gather to create the best product possible.
The product we decided to create was a cheaper device that was targeted at people aged between 18 to 60. We felt this would be the best commuter age to target as people who would have an interest in our product would either use a train for traveling to a place of education or employment. These people would therefore regularly face the challenges we are trying to minimise using our product. The device is to be worn on the wrist of the user and stores the user's train tickets and times to remove the need for constantly using mobile phones or expensive tickets on trips. Constantly removing mobile phones and tickets from pockets to show multiple people through a train journey massively increases the risk of the target user losing his/her device or ticket. Our devices aim is to be constantly worn to ensure that the user does not need to remove other devices from pockets or bags. it will also improve the efficiency and ease of the journey as the user will simply have to place their wrist on the scanner as they would their phone or ticket however they can easily do this whilst carrying other items or without having to prepare before the terminal or attendant arriving.
Research
To begin my research, I began by looking at the current market of wrist wearable devices both expensive and cheap to gain various design aspects that each category has in common. This was mainly shown in the materials involved in the creation and how many individual parts were used to build the whole device. To gather this research, I used Pinterest to create two image boards to show both higher and lower-priced products.
Expensive wrist wearables

Cheaper wrist wearables

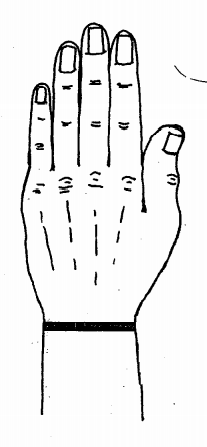
After gathering the research on what other wrist wearables were on the market, I began to look at the anthropometric and ergonomic data that would be required to see how our groups device would interact with the users. It would need to sit comfortably on the wrist all day to remove the need for the user to take it off or to constantly adjust and move it whilst being worn. To complete this I looked at data sheets that gave the 5th, 50th, and 95th percentiles for average wrist sizes across the age range we were looking to target for both males and females.

Device Design
To begin the design stages of the device I began by sketching out numerous ideas and areas that I felt had room for development. These areas included how the face of the device should look whilst also looking at how the strap could fit around the users wrist
Using my research I had decided that the face of the device could either be plain or could offer some form of communication to the user to show if the user were too early, late for their train, and show how much battery the device has left. I began by focusing on these two areas as they were very important to how the device would function. I sketched a few ideas of both styles and brought them to my group for discussion.
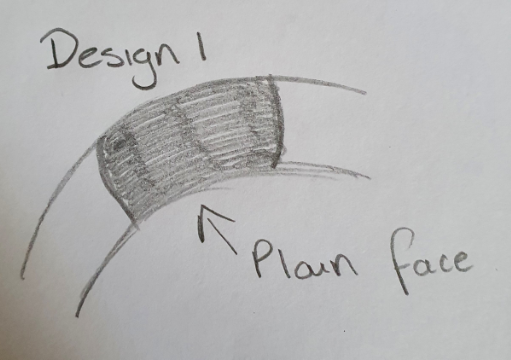
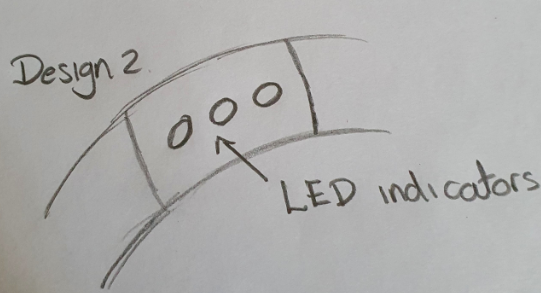
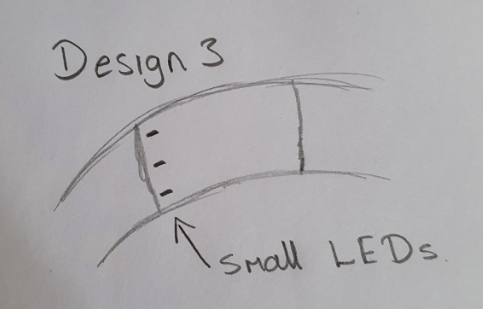
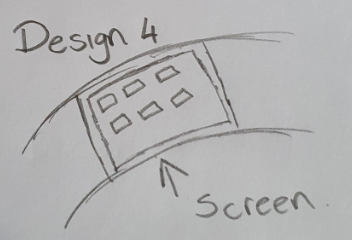
After deciding as a team that it would be more useful for the device to be able to communicate with the user I added three different coloured and shaped LEDs to the front area of the face of the device. Each carrying its own meaning. The Green circle would indicate that the user's train was arriving. The yellow triangle would indicate the Train is 10 minutes away from the users station to embark. The red square would indicate the user only has 10% battery in the device.

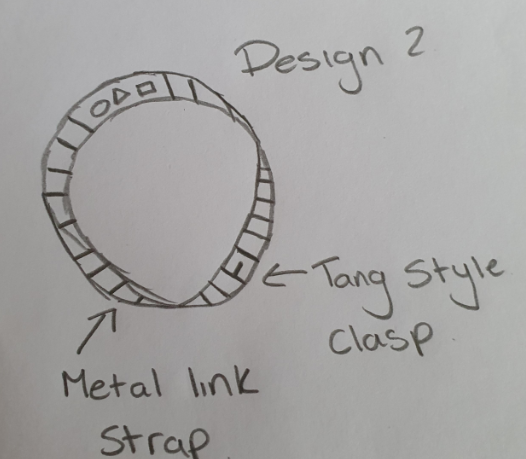
To begin the strap design, I began to look at two possible ideas. A tang-type buckle as most standard watches use. Option two being a silicone one-piece strap that stretches over a fist and sits around the wrist is most common on cheaper styles of wristwear due to the low material cost. I began sketching both designs out to give examples of styles in relation to the product we were trying to create.
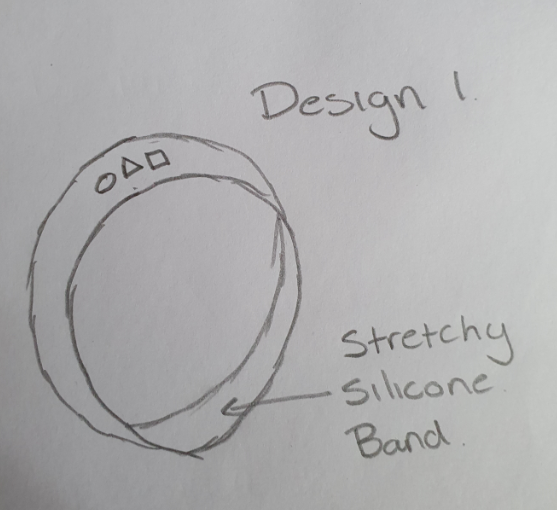
After discussing with the group by showing my design ideas we decided to create a silicone band that would stretch over the users fist. We chose this option as we were keeping cost of creation in mind. This is a factor we would like to keep as low as possible to ensure a reasonable price for customers to ensure the device is in the correct price band for the target audience. This meant I required additional anthropometric data to allow me to see how large the strap would have to stretch by to ensure it would fit.
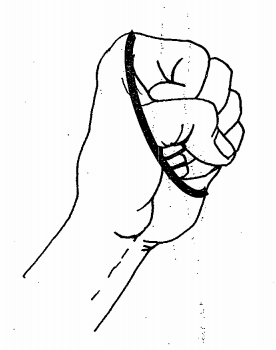
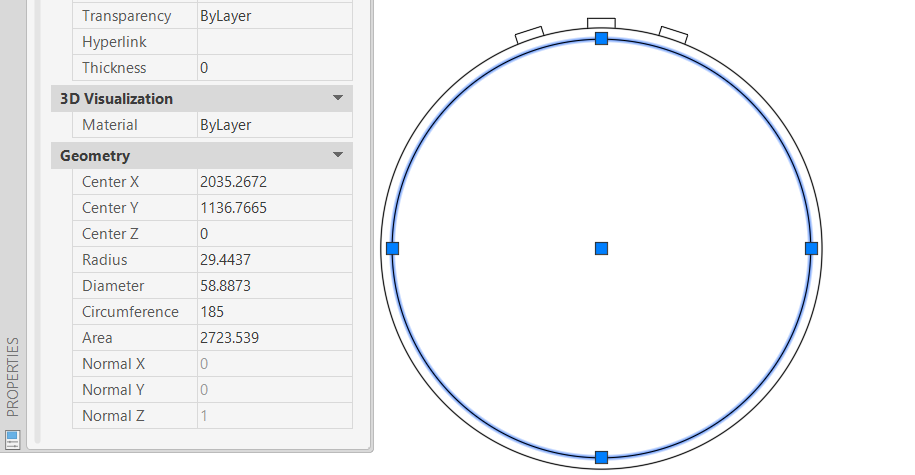
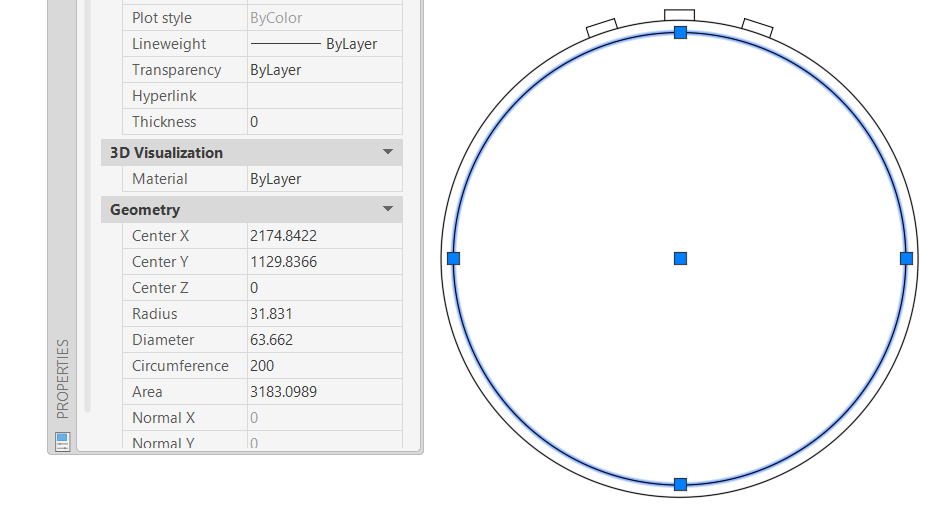
Upon looking at this data I was able to come out with figures of what our device needed to be capable of meeting. I felt it would be best to create the same device in two sizes, one smaller and one larger to help accommodate the varying figures in both age and gender. The smaller bracelet would need to have an internal circumference of 185mm that could stretch to 280mm to allow the user to fit it over the clenched fist. The larger band size would need an internal circumference of 200mm that could stretch to 315mm. Using these two sizes would maximise the comfort for the user and prevent someone with a larger wrist and fist circumference from potentially overstretching and snapping a band size that was made just for the 50th percentile or lower.


From this point I was able to begin modelling in 2D Auto CAD to ensure the sizes I had chosen were correct. It was able to draw the outline of our mobile device to ensure it looked as it was supposed too according to my sketches.
To begin I created some circles to act as the internal and external band diameter to show both normal size on the wrist and size whilst being put on over the fist. These 2D drawings were then put into a drawing border ready to be plotted.
Auto CAD Development
When designing in Auto cad I felt showing the designs in 3D would be the best way to explain and show my team how I planned the designs to look. I began by creating a 2D circle that I could revolve a rectangle around that would have the cross-section dimensions of the silicone band.


The next step once the band had been created was to create a larger face on one side of the band. This would be on the top of the device and hold the three LEDs. To begin this, I went to mesh modelling and chose face selection. This allowed me to select and extrude individual faces to ensure the top area of the device is large enough for the user to see and that it can hold all the necessary components.

After extruding the necessary areas of the watch face to create the design I required I was able to smooth the surfaces. Smoothing the surfaces allowed the device to take a more realistic shape that you would expect from a silicone watch strap and face. The lights could then be added in the correct positions and given the right shapes. These were small extruded areas on the curved face of the device.


Once the device looked as I had planned for it to on my drawings and designs, I was able to place the model into a drawing border and to show how I wanted the device to look to the rest of the group. Both the model file and the exported PDF showing the model in different views were passed on to the rest of the team for them to create in a 3D rendered environment and animation.
